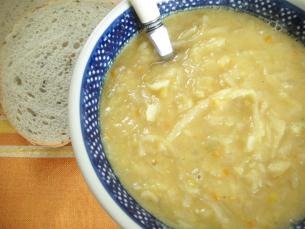
This soup is thick, hearty, full of flavor, and perfect for the beginner cook. It was taught to me by my Dad, who did not cook very often but who had a few specialties that were his “signature dishes.” Cabbage soup was one of his best! He always made it as part of a traditional Polish Christmas Eve celebration dinner. I like making his recipe as soon as the weather turns cold. Be sure to pick up a loaf of (Polish) rye bread at the grocery store – it is perfect with this soup!
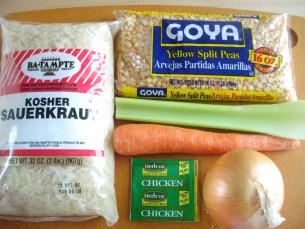
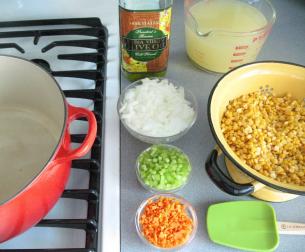
You might already have most of the ingredients for this soup in your kitchen. Onion, celery, carrot, olive oil and chicken or vegetable broth are the basic ingredients. Add a bag of dry yellow split peasand a bag of sauerkraut and the list is complete! (Sauerkraut is fermented cabbage.)
Let’s startcooking!
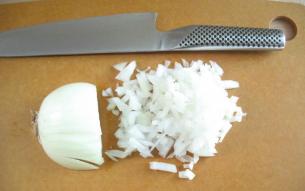
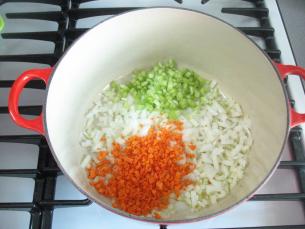
One medium onion needs to get peeled and chopped.
(Check out my video for a quick review on How to Chop an Onion)
Dice one stalk of celery. Cut the stalk in half, and then in strips. From there it is really simple to dice the celery.
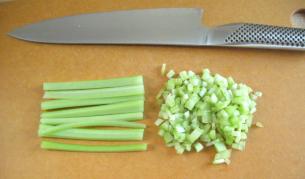
Do the same for the carrot – cut it in half, then strips, then into a dice. (My Dad never put carrots in his cabbage soup, but I like to start with a combination of carrots, celery and onions for almost all the soups I make.)

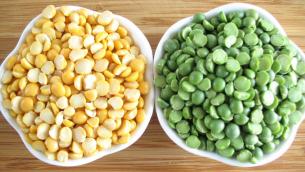
Dried split peas that have been mechanically split along a natural seam, so that they cook faster. You can buy either green or yellow split peas. It is not necessary to soak split peas, but they do require rinsing and sorting.
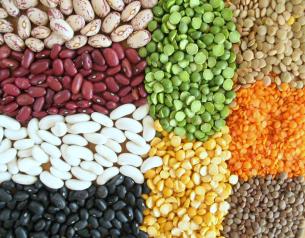
(Note: Do not soak the split peas in water before cooking. Be sure to check out my post How to: Beans, Split Peas and Lentils which is a great primer on “pulses”.)
Now back to the cabbage soup…
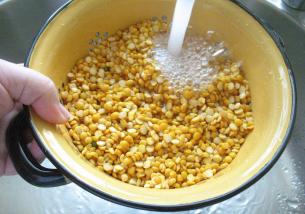
Put the dry yellow split peas into a colander and sort them. That just means to look though them to make sure there are no tiny stones that ended up in the peas. Sometimes you will see a green split pea mixed in with the yellow ones – you can leave it in or take it out!
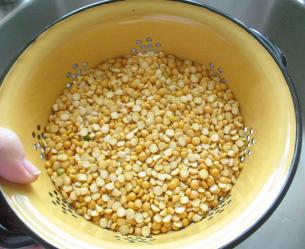
Now rinse the peas under cold running water.
As always, it is really important to get all your ingredients prepared in advance.
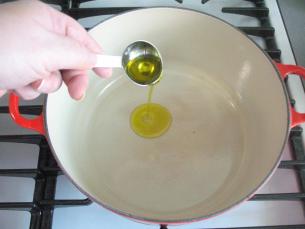
Heat the oil in a large (6 quart) pot, on medium heat, until it shimmers.
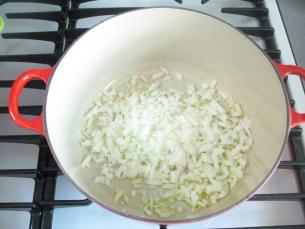
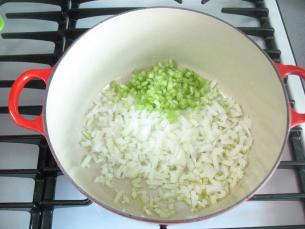
Add the chopped onions…
…and the diced celery…
…and the diced carrot.
Stir the vegetables.
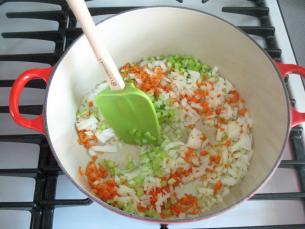
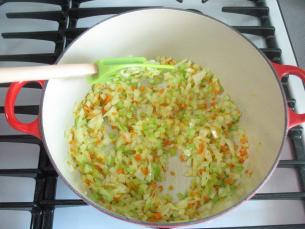
Then let them cook for about 5 minutes, or until they are soft.
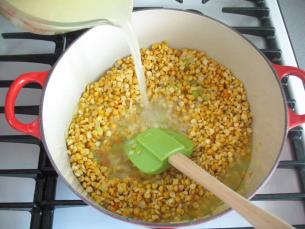
Add the rinsed peas to the soup pot…
…and the broth. You can use either chicken or vegetable broth.
Bring the soup to a boil.
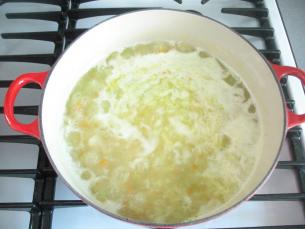
Turn the stove down to simmer and cover the pot.

Simmer the soup for about one hour, giving it an occasional stir.
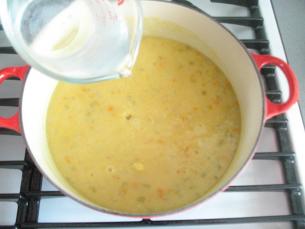
This soup gets VERY thick. You can add up to 2 cups of water (or even more!) to thin down the soup.
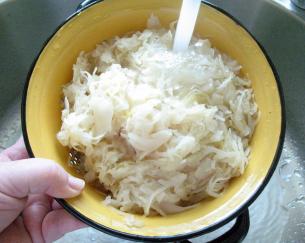
My Dad always used sauerkraut from a bag rather than buying it in a tin can. The sauerkraut from the tin can always tasted a bit “tinny.” You can find bagged sauerkraut in the “refrigerated pre-package deli meat section” of the grocery store.
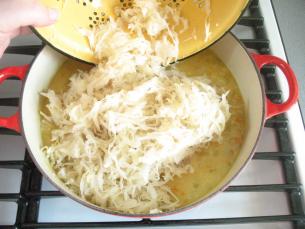
Put the sauerkraut into a colander. Drain and rinse it under running cold water. Sauerkraut can be very tart. Rinsing it removes some of the tartness. (You can drain it in a bowl and save some of the juice. Then after the soup is cooked you can adjust the flavor by adding some of it back into the soup. This will add a bit of tanginess to the soup.)
Add the sauerkraut to the soup.
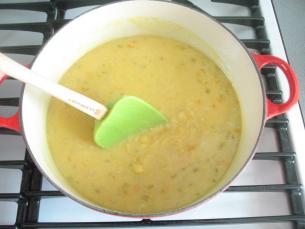
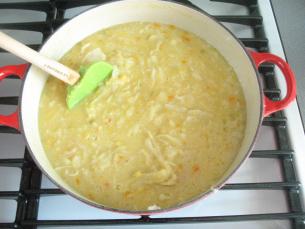
Stir everything together. You can see how really thick this soup is. At this point I have already added about 1 and 1/2 cups of water. I think I do need to add a bit more!
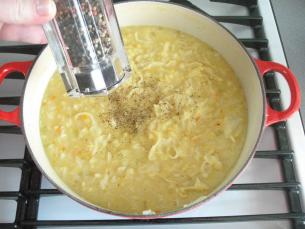
Season the soup with some salt…
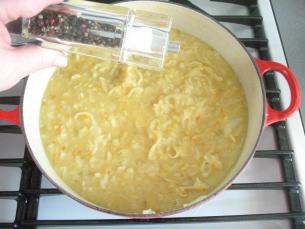
…and freshly ground black pepper.
Serve the soup with some nice Polish rye bread.
Enjoy!
P.S.
This soup tastes even better a day or two after it is made! When you take the soup out of the refrigerator to reheat it, it will have become very thick. Gently reheat it, stirring it often. You may have to add a bit more liquid to this soup if it has gotten too thick. It also freezes beautifully!
If you are a fan of split-pea soup you might also want to try my Green Split Pea Soup which has chunks of turkey kielbasa in it.