Adding sinfully rich gravy to either mashed potatoes, roasted chicken (or Turkey), pork or beef turns the whole meal into a holiday treat! (And it can also be used without the excuse of a holiday!)
There are many, many different ways to make gravy, using slightly different techniques and ingredients. All gravies, no matter how they are made, should have no lumps, should be smooth as silk and should have no taste of raw flour.
In this post, I am going to show you how to make two different gravies – a classic all-purpose gravy and then a really quick gravy. Then, at the end of this post, there are links to two videos which show how to make gravy with pan drippings, as well as links to three photo-tutorials on other ways to make gravy.
This post includes:
- Startcooking.com’s Classic All-Purpose Gravy
- Startcooking.com’s Quick Gravy
- Gravy Enhancers
- How to Store and Freeze Gravy
- Links to other photo-tutorials and videos on How to make Gravy
1. Startcooking.com’s Classic All-Purpose Gravy
This classic all-purpose gravy is made by first cooking flour and butter together (that’s called a roux – pronounced roo) and then adding cold stock and cooking it until it has thickened and is smooth as silk. This recipe makes four cups of gravy which is great for entertaining.
Ingredients needed:
- 1/2 cup of butter (unsalted)
- 1/2 cup of flour
- 4 cups of chicken stock
- 1/3 cup of heavy cream (optional)
- salt and pepper to taste
Making the Roux
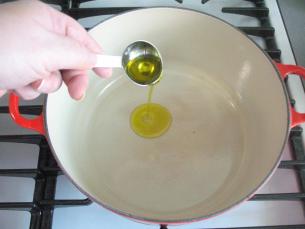
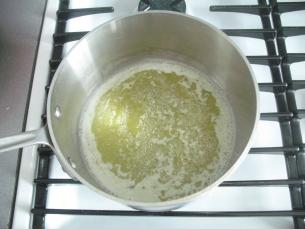
Cut 1/2 cup (8 Tablespoons) of unsalted butter into chunks and add it to a medium size heavy sauce pan. (Unsalted butter allows you to control the salt in the gravy.)
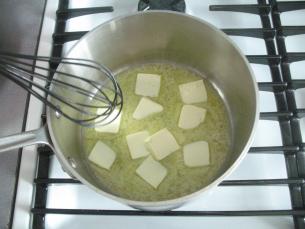
On low (to medium-low) temperature melt the butter until it is foamy.
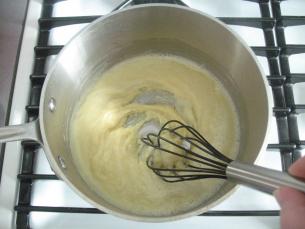
Add 1/2 cup of all-purpose white flour to the pan.
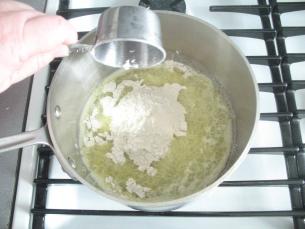
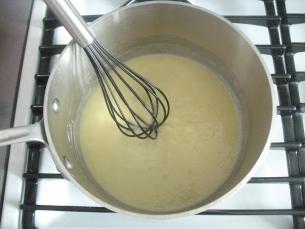
Start whisking the flour…
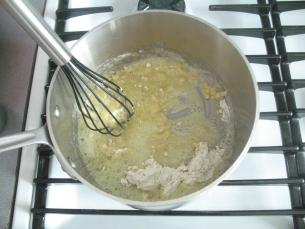
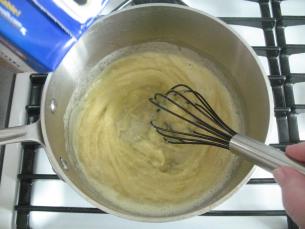
…until well blended.
Keep whisking and cooking (over very low heat) until it smells like a pie is cooking in the oven! That means the flour is cooked and your gravy will not end up having a “pasty” flavor to it.
Brace yourself, as this could take anywhere from 6-to-12 minutes to get cooked!
Adding the Stock
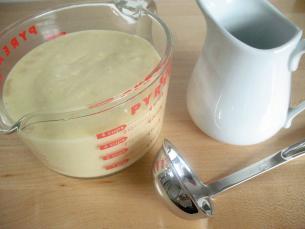
I will be using chicken stock for this recipe, but you could use vegetable or beef stock or a combination of stocks.
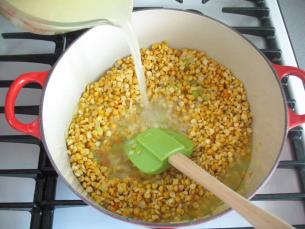
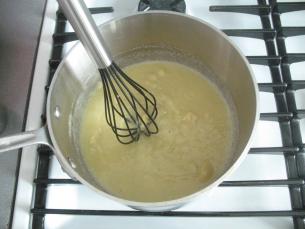
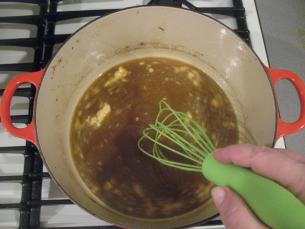
Start by whisking in about 1 cup of stock. (Four cups will eventually get added.)
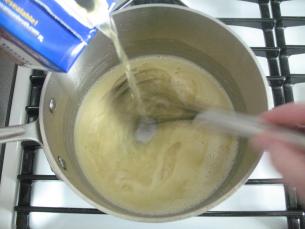
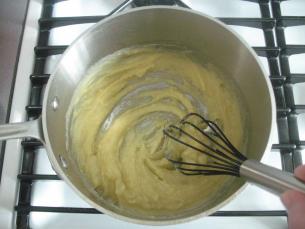
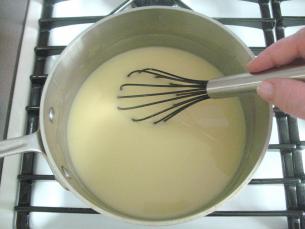
Keep whisking vigorously until…
…all the stock is absorbed.
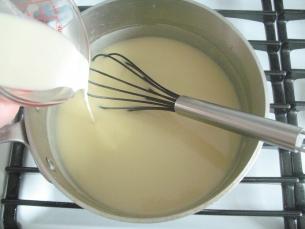
Now add a bit more stock…
…whisking until the stock is again absorbed.
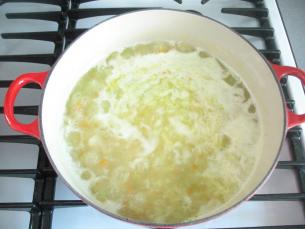
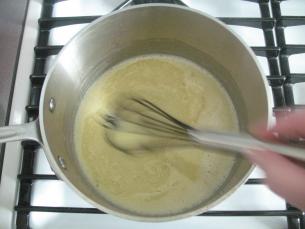
Pour in the remaining stock…
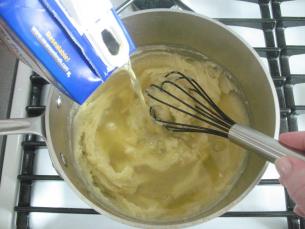
…keep whisking!
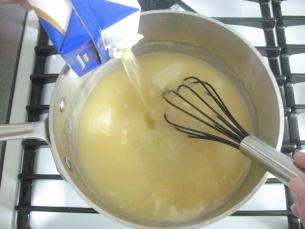
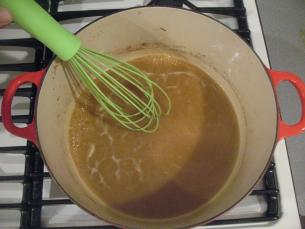
All of the stock will get absorbed and it will be smooth as silk again! The stove should still be set at low as you continue to cook the gravy.
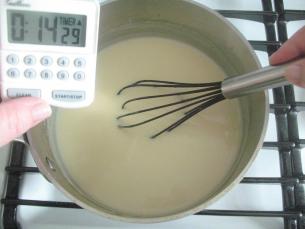
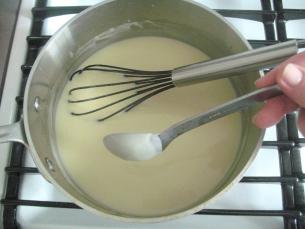
After 10 minutes, my gravy was still was not quite thick enough. See below how it drips off the spoon.

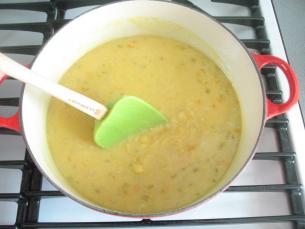
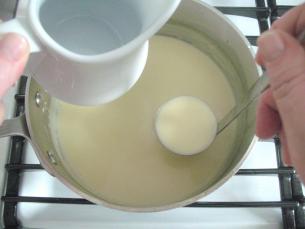
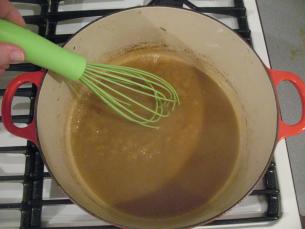
At about 12 minutes, I added 1/3 cup of cream. This adds such a rich flavor and texture to the final gravy.
Within two minutes of adding the cream, the gravy was perfect!
See below how it now coats the back of the spoon.
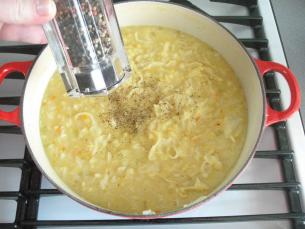
Taste the gravy, and add some salt (if you think it needs it) and some white or red pepper.
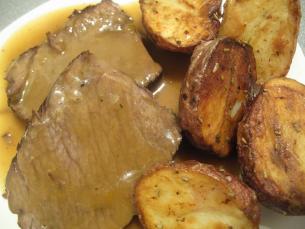
This is ready to serve!
2. Startcooking.com’s Quick Gravy
This quick gravy is great for making small amounts of gravy. It is made with:
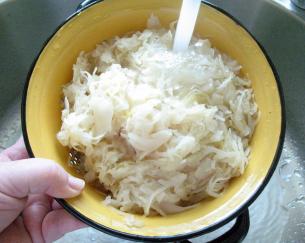
In terms of amounts, the general rule of thumb is 2 tablespoons of flour, plus 2 tablespoon of butter to 1 cup of broth. Broth from a can works beautifully for this recipe, although I am using strained stock from a just-cooked beef pot roast. (Waste not, want not!) The excess fat needs to first get skimmed off the top. Canned stock does not have this excess fat.
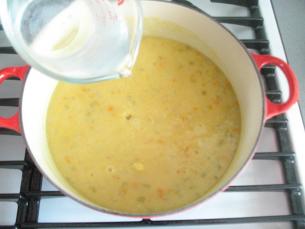
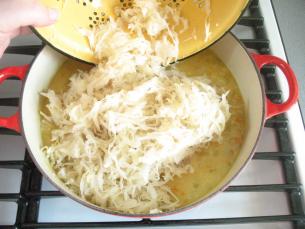
Pour the stock into the pot. (I’m using the same pot that I cooked my beef pot roast in.) Turn the heat on medium and heat the stock.
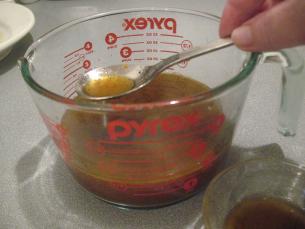
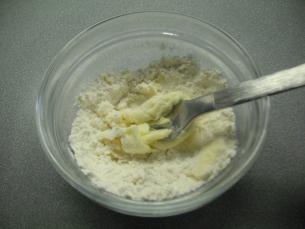
Put the flour and butter into a small bowl.

Using your finger tips or a fork, mix the flour and butter together…
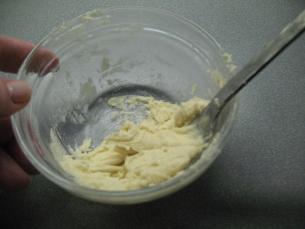
…continuing to mix….
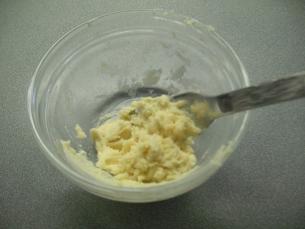
…until you have a really smooth paste. This flour-butter paste is called a “beurre manie.”
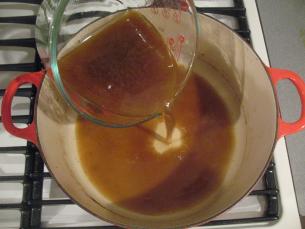
Add the beurre manie to the hot stock.
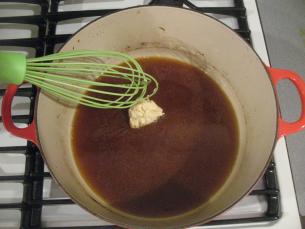
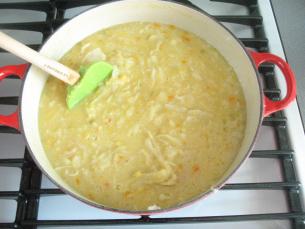
Vigorously whisk together the stock and the flour-butter paste.
Turn the heat down to low and …
…cook the gravy until it is thickened. There should be no “pasty-flour” taste to the gravy. This could take up to 10 minutes.
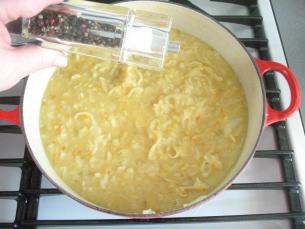
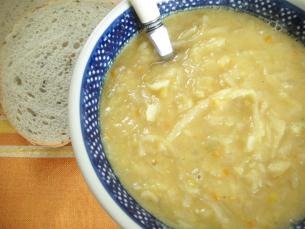
Taste the gravy to see if it is cooked and if it needs salt and pepper.
Enjoy!
3. Gravy Enhancers
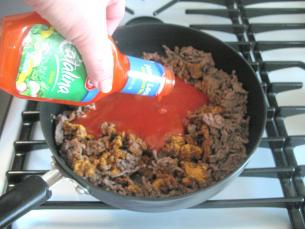
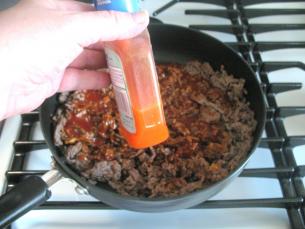
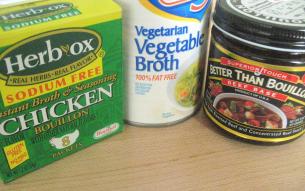
Sometimes homemade gravy is just not the color you want it to be, and occasionally the flavor needs a bit of a boost. In the spice section of the grocery store you can buy flavor enhancers for gravy. Names like Bisto, G Washington’s Rich Brown sauce, Gravy Master Seasoning and Browning Sauce, and Kitchen Bouquet Browning & Seasoning Sauce are available at my grocery store. Enhancers are made of a combination of vegetable extracts, caramel coloring, preservatives, salt, etc. Some people have actually added things like soy sauce or coffee granules to darken their gravies!
Many serious cooks look down on the whole idea of using enhancers. That’s their privilege, but I think beginners should be given more latitude to learn a step at a time using convenient ingredients! Even experienced cooks use these products. My mom always had a product called Gravy Master in the cupboard and I must admit I have followed her tradition!
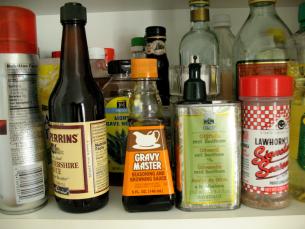
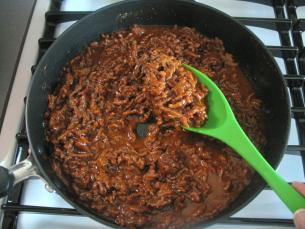
Enhancers pack a powerful punch and should be used sparingly. They not only add flavor but they also add color to the gravy as well. Just a few drops can turn pale gravy into a color darker than dark chocolate! Be sure to read the directions on the back of the particular brand you have purchased just in case they say otherwise.
4. How to Store and Freeze Gravy
Homemade “flour-thickened” gravy should be stored in the refrigerator in an airtight container and used within two days of making it. When reheating the gravy bring it to a boil, whisking constantly, and then keep at simmer until ready to serve.
(Note: Gravy thickened with corn starch does not freeze well at all, nor does it hold up for prolonged cooking.)
Flour-thickened gravy can be frozen for up to 3 months. Freeze the gravy in manageable portions. I like using zip-lock freezer bags. Be sure to squeeze out all the air and flatten the gravy. It will take up much less space in the freezer this way.
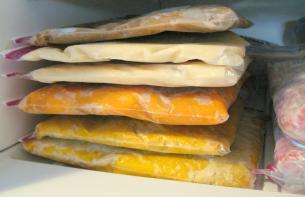
Frozen Mushroom Gravy, Chicken Gravy, Sweet Potatoes and Pureed Squash
After the gravy has defrosted it may look like it has separated or curdled. Vigorously whisk the gravy as you are re-heating it, in a sauce pan, and it should return to its original texture. You may have to add a few drops of water or stock to the pan as well.
****
5. Links to other photo-tutorials and videos on How to make Gravy
- Epicurious has an excellent video on How to Make Gravy by deglazing a roasting pan first.
- The Mayo Clinic also has an excellent video on Making Healthy Gravy. Their recipe uses cornstarch instead of butter and flour to thicken the gravy.
- Instructables has a great photo-tutorial on a superb looking Vegetarian Mushroom Gravy.
- For lovers of Giblet Gravy, head over to Cook Like Your Grandmother for a very well done photo-tutorial.
- Martha Stewarts Perfect Gravy is made with Madera Wine. She thickens her gravy by making a “slurry” of giblet stock and flour in a jar.